Blog

Thinking Inside the Box

Still struggling to find my creativity, I decided to take my own advice and turn to the work of others for some inspiration. While reading David duChemin's blog and looking through Josef Hoflehner's images, I realized how little I knew about shooting in the classic 1:1 aspect ratio. I must admit, even though I was on Instagram for a short while, I never really got swept up into the Hipstamatic/Instagram craze. Maybe it's because my love of photography didn't originate in the film days or maybe it's because I just don't care for the look of images processed in those apps. Whatever the reason, I haven't spent too much time thinking about how my images would look in a square format. 

After reading David duChemin's thoughts on the Fujifilm XE-1, I realized that my X-Pro1 lets me shoot in a 1:1 aspect ratio using either the optical or electronic viewfinders. This realization immediately got me thinking about the things I could do to change my routine the next time I'm out shooting. My first thoughts include combining the square format with the various film modes available with the X-Pro1. At this point, the possibilities seem endless, which is a good thing. I just need to keep the wheels turning until I have a chance to go out to make some photographs. In the meantime, I decided to crop a few of the images I made last month of the San Clemente Pier in the 1:1 aspect ration to try and start seeing in the square format. Here are two of the photographs that I cropped and then converted to black and white using Silver Efex Pro 2. Stay tuned for more photographs from my new project, hopefully soon.

Exploring Waterfalls with the Fujifilm X100

We recently returned from a week in the Sequoia and Kings Canyon National Parks and I've spent the last few days editing my images from the trip. During our time in the parks, I had the opportunity to photograph three waterfalls: Topoka Falls, Grizzly Falls, and Roaring River Falls. While reviewing my images of these waterfalls, I was once again reminded of just how versatile the X100 is as a travel camera. Before leaving, I picked up a step up ring so I could use my ND filters with the X100. This, combined with the built-in 3 stop ND filter gave me the ability to extend my exposures even when shooting in bright midday sun. 

The following images, which were all edited in Lightroom 4 and Silver Efex Pro 2, are some examples of the long exposure capabilities of the X100. Even though I am enjoying my new X-Pro1 (and had it with me the entire week), the fact that I can travel light with the X100 and a small tripod may make me think twice the next time I pack my gear for a trip.

Roaring River Falls - 25 seconds at f/16

Grizzly Falls - 12 seconds at f/8

Topoka Falls - 1/2 second at f/16

Revisiting Silver Efex Pro

I downloaded a trial for Silver Efex Pro a few years ago and was blown away by the black and white conversions I was able to create. Up to that point, I was using Lightroom to do the conversions and was satisfied with the workflow and results. After seeing what I could do with Silver Efex Pro, I never looked at my black and white conversions done in Lightroom quite the same way. The only problem was this was back in 2010 when the plugin for Lightroom cost $199. As good as it was, I just couldn't justify spending that much on a single plugin.

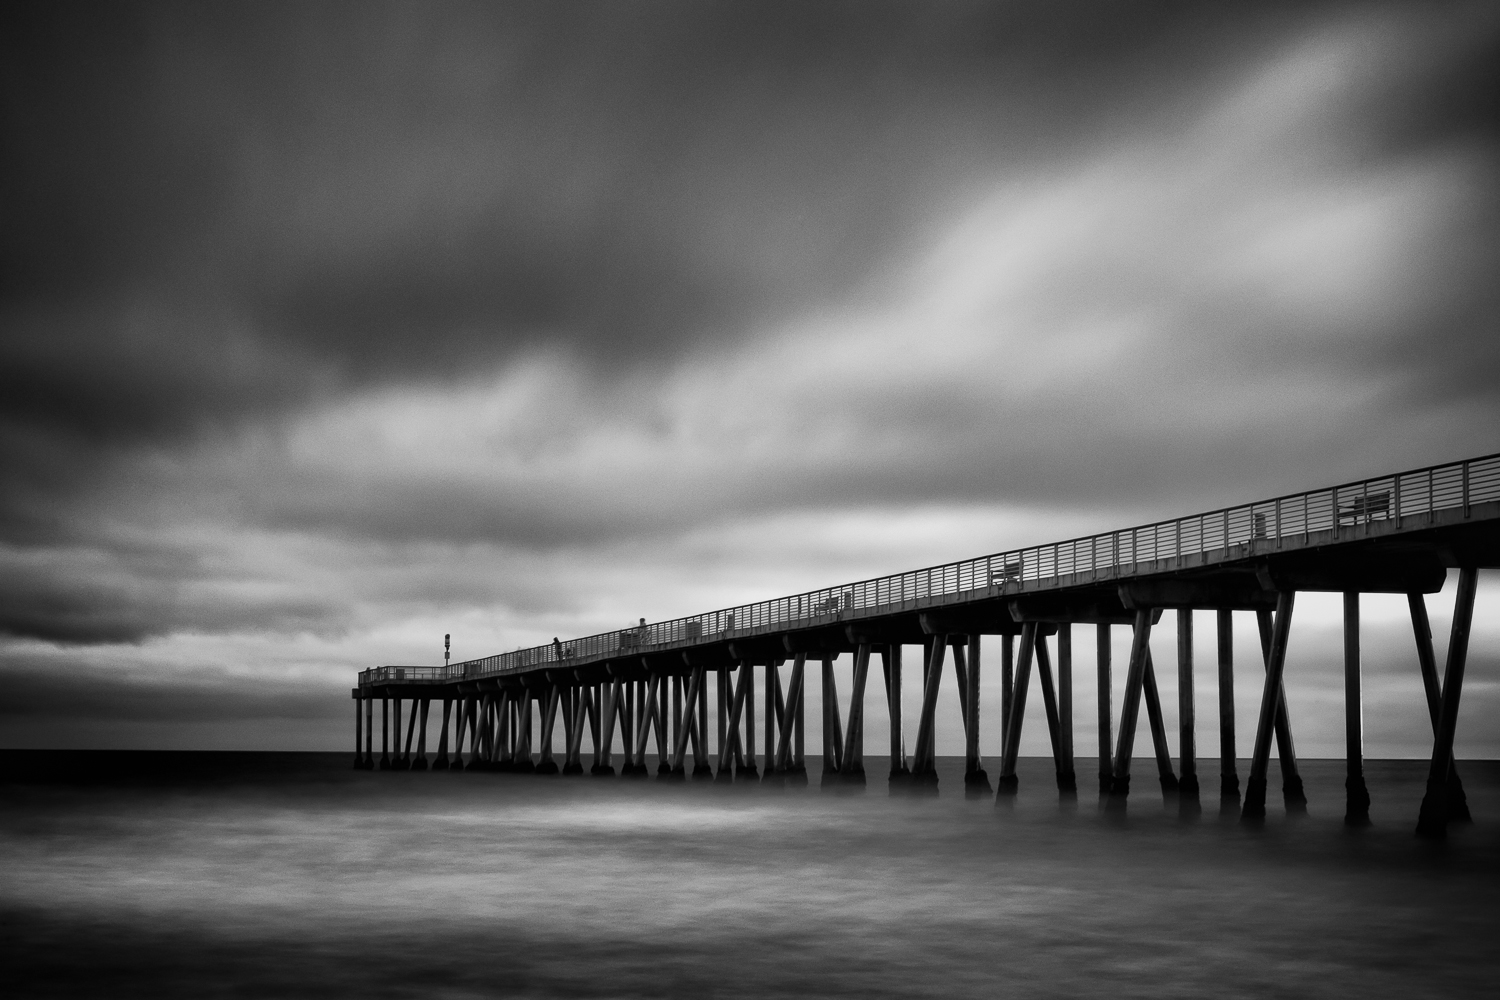
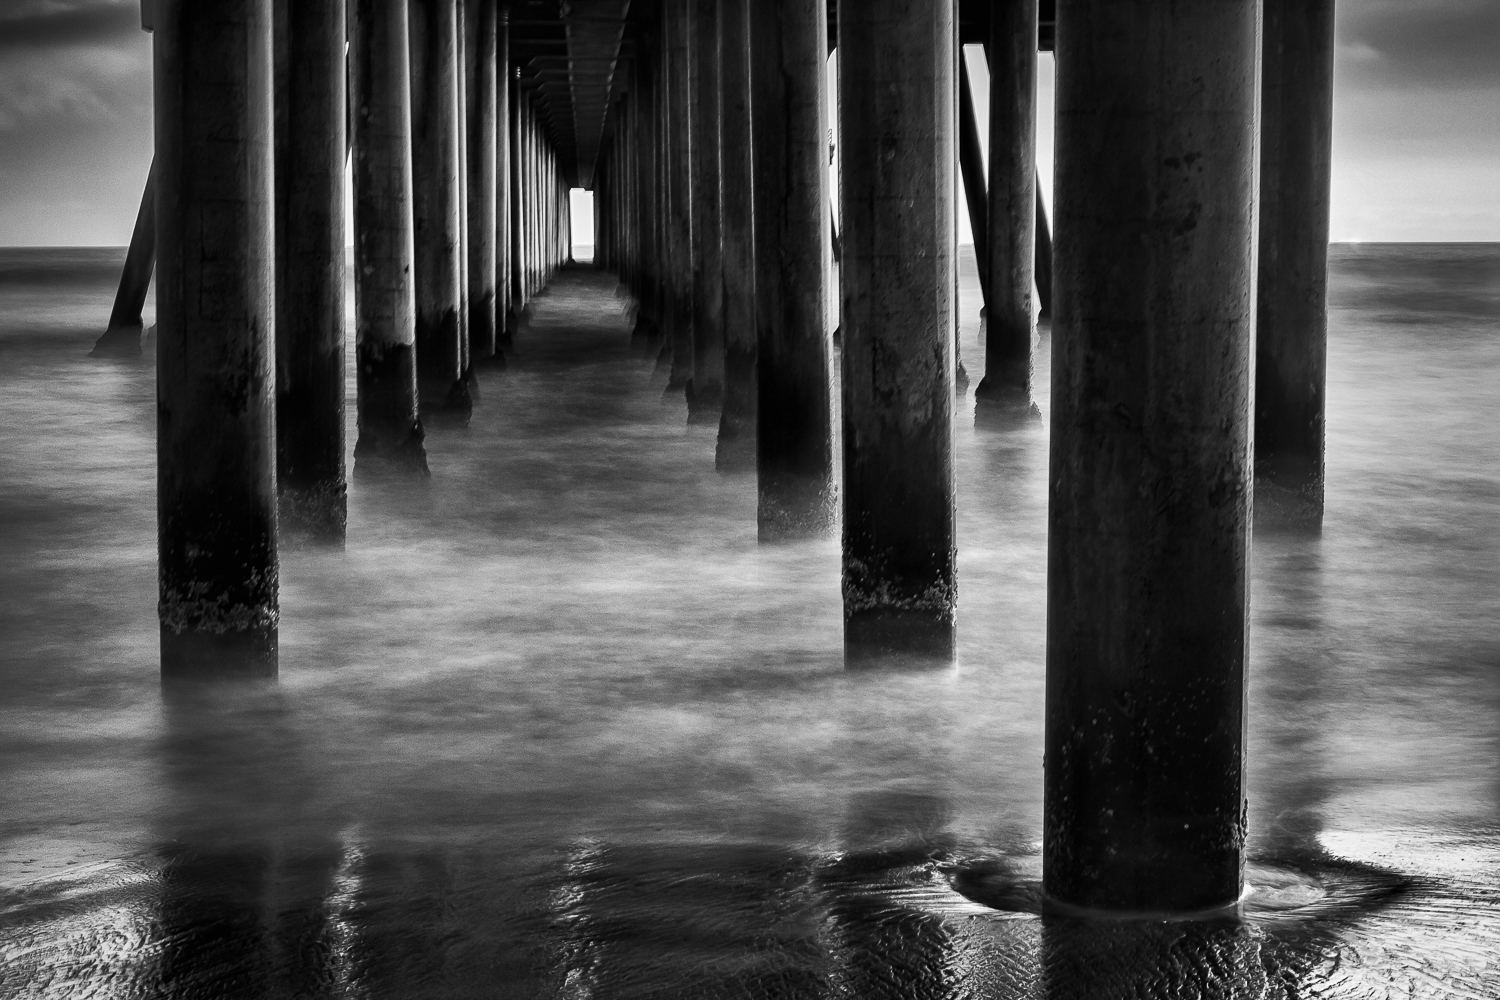
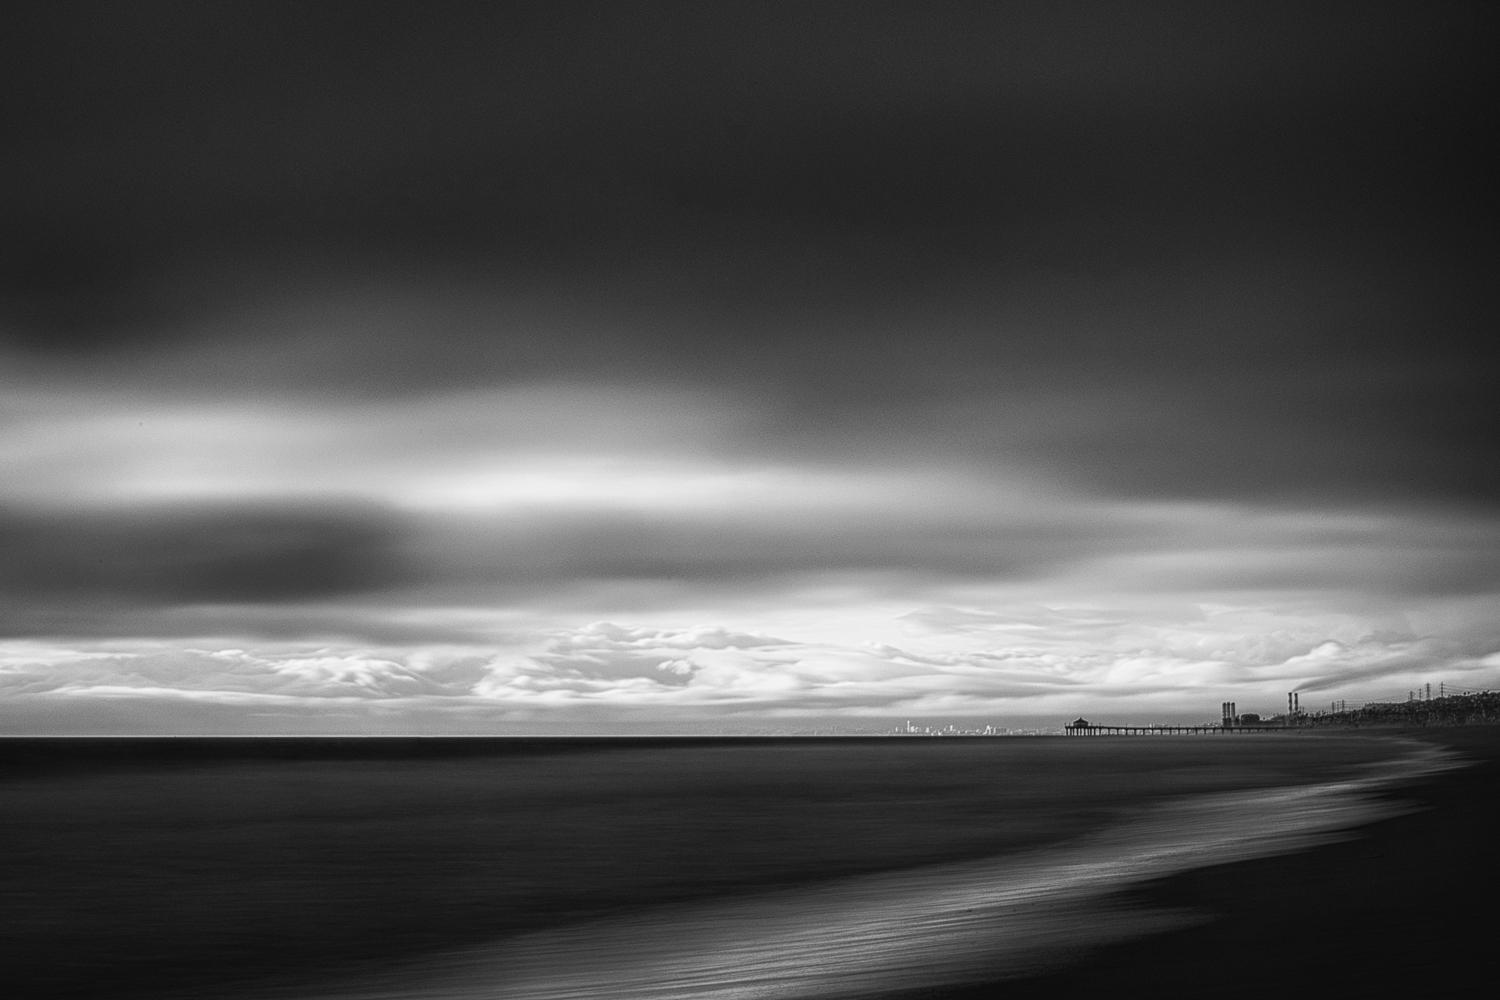
With the recent announcement that Nik Software (now a part of Google) had dropped the price of their entire collection to $149, I decided to give the latest version of Silver Efex Pro a try. Using Silver Efex Pro 2 as a Lightroom plugin is still quick and painless and the results it helps to create are still stunning. The presets provide a great starting point for the conversion and the localized adjustments make it possible to really fine tune an image. I'm only 5 days into my 15 day trial, but I've pretty much already decided that this time around, Silver Efex Pro is here to stay. Here are some of the conversions I did of my recent long exposure photographs made of various piers around Southern California.

Long Exposures at the Newport Pier

I have always been intrigued by long exposure photography and the sense of motion that can be conveyed in a photograph. I have fond memories of sitting in the Philadelphia Museum of Art trying to capture the movement of the museum's patrons with my Sony Cybershot camera. Since the camera didn't have manual mode and I wasn't yet familiar with the effects of shutter speed on an image, I simply experimented by changing the settings I could control to create photographs that showed the movement of the people around me.

Fast forward a few years to 2008. Armed with my first DSLR and a better understanding of the use of shutter speed, I visited Newport Beach to capture some of my first long exposure photographs of the Newport Pier. Since that time, I've visited the Newport Pier many times and made many photographs of this fascinating structure. I'm not really sure what it is about this particular pier, but I never seem to grow tired of photographing it.

Having recently acquired some ND (neutral density) filters for the 35mm lens of my X-Pro1, I thought it was only fitting to head down to one of my favorite places to create some long exposure photographs of the Newport Pier. Luckily, the weather cooperated and provided a beautiful backdrop for creating some of my favorite long exposure photographs to date.