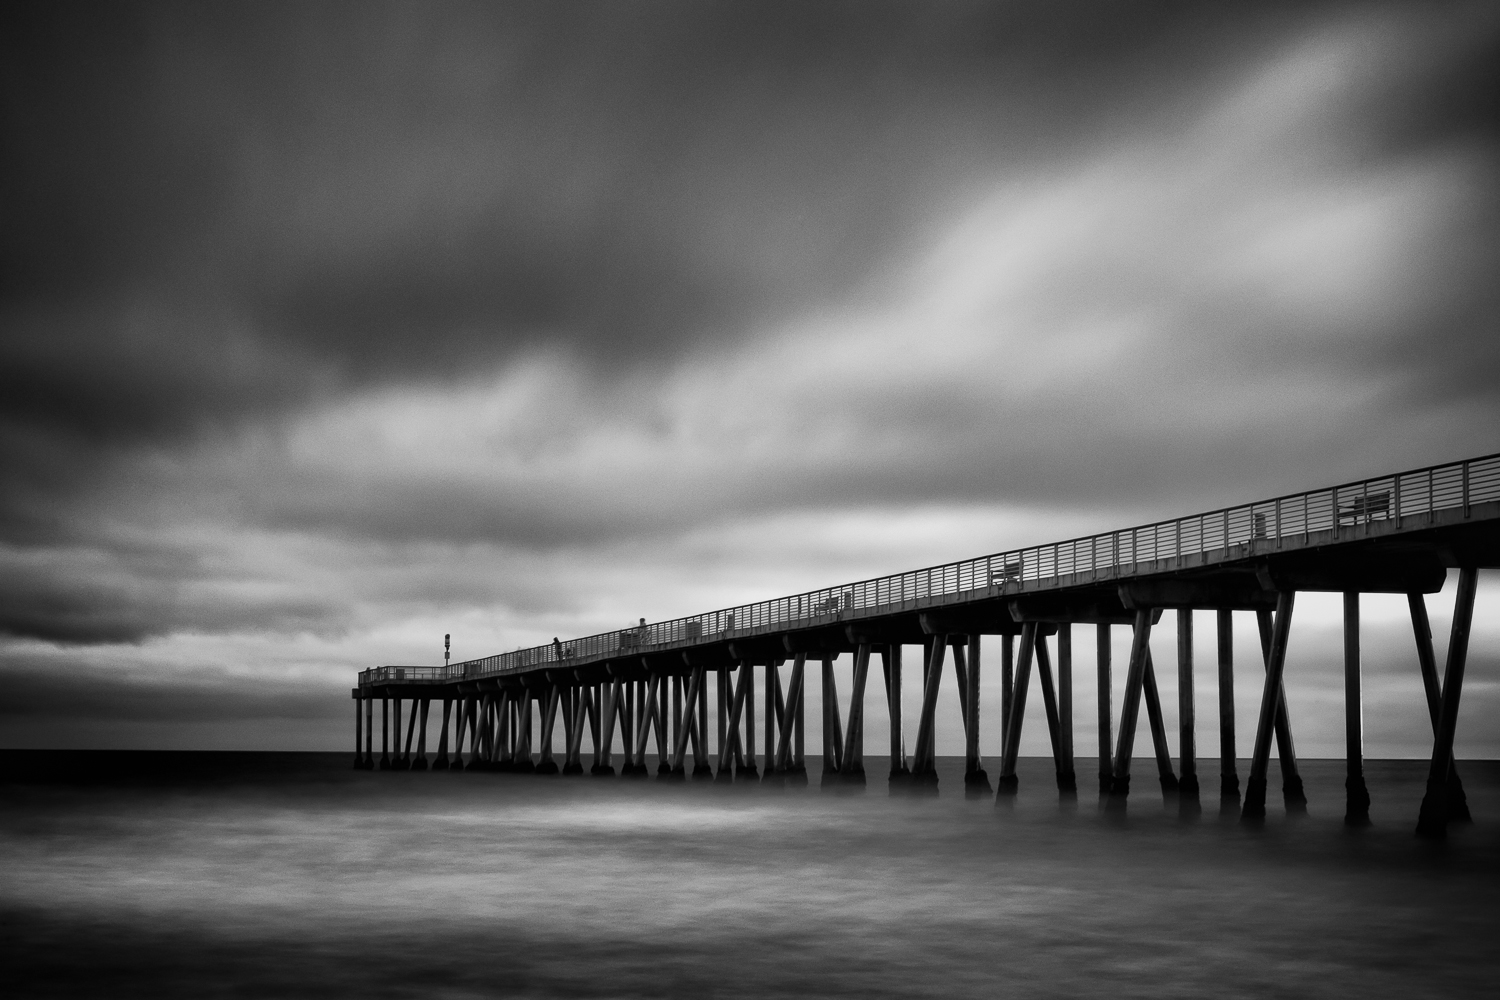
Since I didn't an opportunity to shoot this week, I spent some time reworking one of my photographs posted a couple weeks back of the Newport Pier using Silver Efex Pro 2. The original image I posted was converted and edited using Lightroom 4. Since I shot the original image in raw, I started by converting it to black and white using the Red Hi-Contrast Filter preset in Lightroom. From there, I made the normal tonal adjustments using the Basic panel and finished by applying a Graduated Filter to the top, left, and bottom of the image. I did this instead of applying a vignette because I wanted to darken the edges slightly without completely losing the blacks in the pier.
Newport Pier original
To compare the results from Lightroom and Silver Efex Pro, I created a Virtual Copy of my original image and reset all the adjustments I made except for cropping. I then opened the image in Silver Efex Pro from Lightroom and applied the Full Contrast and Structure preset. Of all the available presets, this one seems to be my favorite so far. As you can see in the screenshot, the image quickly took on a very different look from what I created in Lightroom.
After applying the preset, I did some fine tuning using the Brightness, Contrast, and Structure sliders available in the right pane and used the Burn Edges adjustment to slightly darken the edges.
Newport Pier in Silver Efex Pro 2
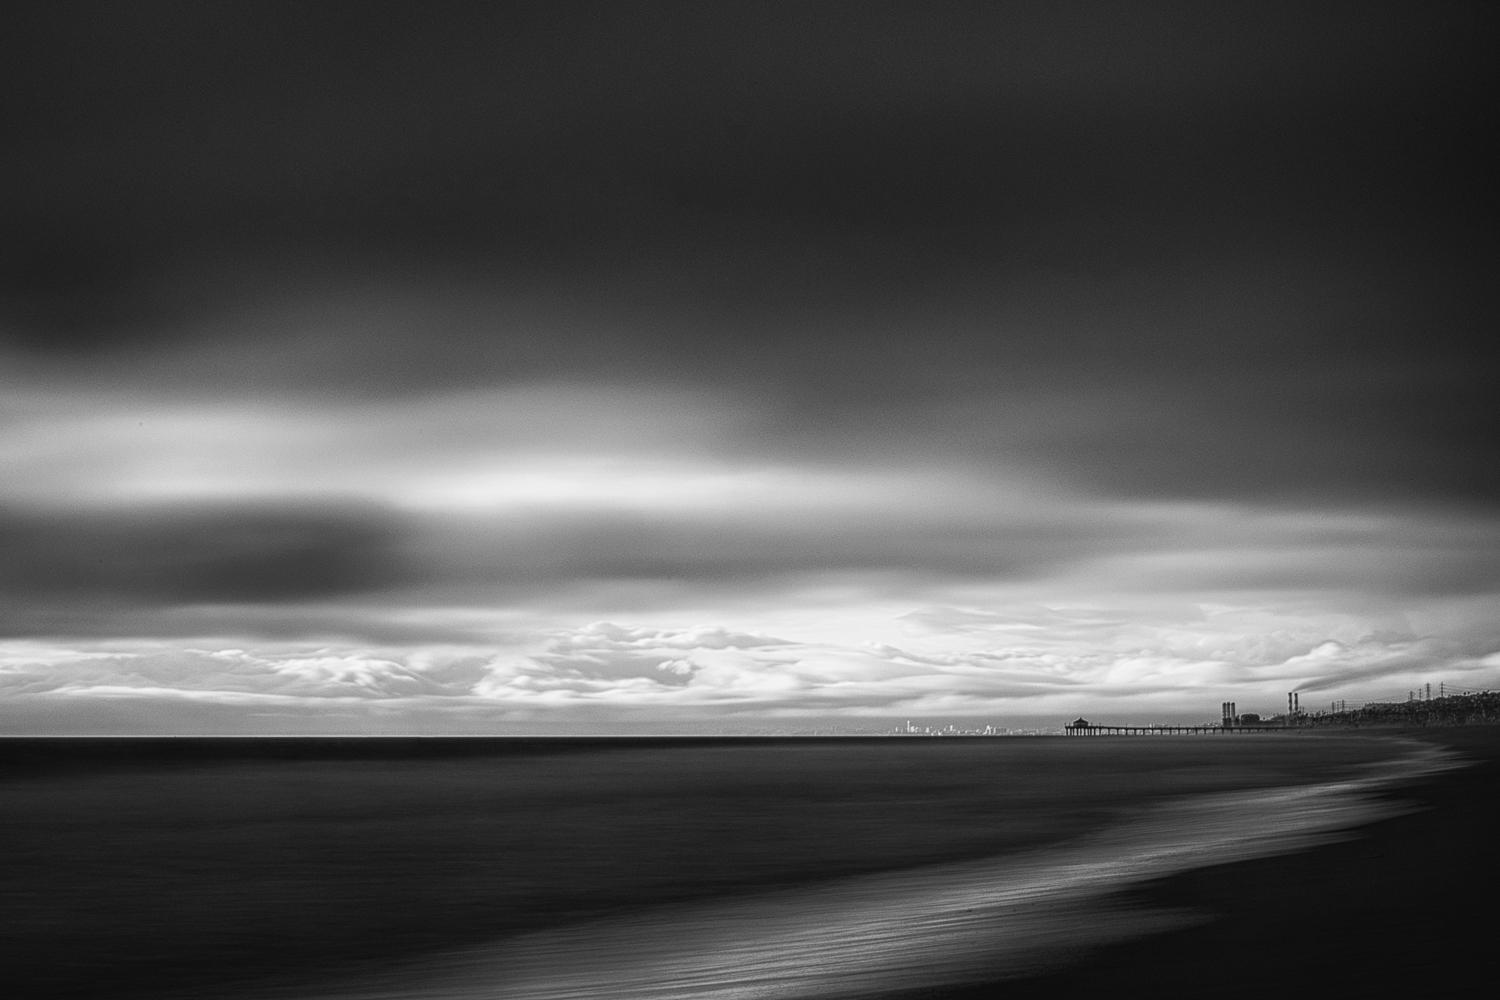
Here's the final image from Silver Efex Pro. Comparing the two outputs, they're obviously very different. But that has more to do with the edits I applied and less to do with the tools I used. I've been using Lightroom for years so I have a good idea of what I can and can't do. Since I've only been using Silver Efex Pro for a couple weeks, it'll take some time to get my workflow down. Seeing and comparing the results from both tools, I can imagine lots of possibilities when using the two together and look forward to many, many more images created using this combination.
Newport Pier rework