Over the past six months, the Fujifilm X00S has traveled with me to San Diego, Seattle, Paris, London, and New York. During these trips, I've used it to shoot everything from snapshots to long exposures. Having used the X100S extensively as a travel camera, I wanted to share my general impressions on using it for travel photography.
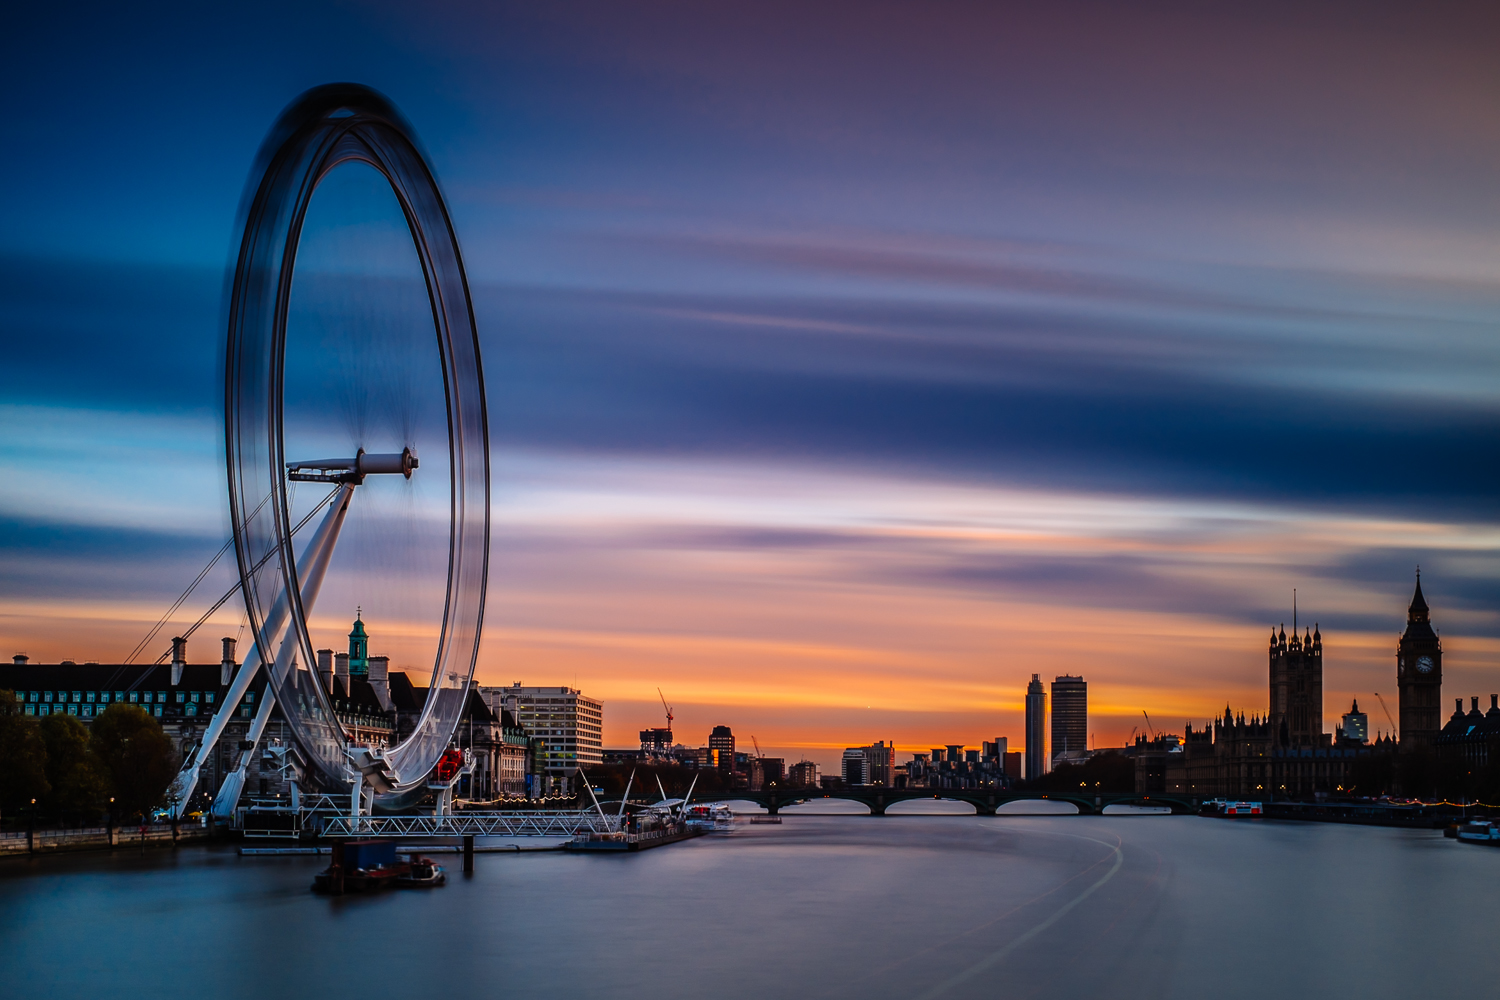
London Eye sunset long exposure - London
What's Good for Travel Photography
I shared my thoughts on the Fujifilm X100 a year ago, and all the things I loved about the X100 also hold true for the X100S. The small size, the excellent image quality, and the ease of use are all things that made the X100 an excellent travel camera. With the X100S, Fuji has managed to make a good thing even better. The speed of the camera has been improved all around, the resolution of the electronic viewfinder has been increased, and the sensor has been upgraded to an X-Trans CMOS II sensor. Each of these improvements have made the X100S an even better travel camera than the original X100.
In addition to all the technological goodness, there are two other reasons why I find the X100 and X100S to be ideal for travel photography. The first is the simplicity that these cameras bring to my photography. By limiting myself to one focal length (sometimes two with the Wide Conversion Lens), I am able to focus more on the images I create and less on the gear I use. This in turn makes it easier for me to be in the moment and enjoy the places we visit.
The second reason these cameras make ideal travel companions is because the leaf shutter they use are nearly silent. Without having to worry about the sound produced by a traditional shutter, I can capture images that I would normally pass up. Since the X100 and X100S are so small and stealthy, I find that I am also able to get quite close to my subjects without really being noticed.

View of the Eiffel Tower - Paris
What's Not Good
As great as the X100S is, there are still things that need improvement. The first of these things is the accuracy of the battery indicator. While I can live with the subpar battery life of the X100S, I find it much harder to live with the accuracy of its battery indicator, or lack thereof. Just the other day, the battery on my X100S went from what appeared to be full to empty in less than 30 minutes. To avoid situations like this while traveling, I make it a habit to fully charge my batteries each night, regardless of what the camera's battery indicator says.
The other thing that I would like to see improved is the focus accuracy. Even though the focusing speed of the X100S is improved, I find that it still has a tendency to miss focus. This is especially apparent when the background is brighter than the subject. In these instances, the X100S will almost always focus on the background even though the focus indicator says otherwise. For this reason, I would love to see the face detection system from the X-T1 incorporated into the next version of the X100S. As gimmicky as face detection may be, the system on the X-T1 seems to work quite well and would likely reduce the number of out of focus images of people (especially when the camera is handed to someone not familiar with the X100S).
Final Thoughts
For me, the original X100 was the camera that made photography fun again. It had plenty of quirks, but once I learned to live with those quirks, I was rewarded with amazing images. The X100S very much embodies everything the X100 was, but with fewer quirks. Sure it's not perfect, but no camera is. As a travel camera however, the X100S is as close to perfect as I have found. It is small enough to fit in a coat pocket, yet capable enough to handle almost any photographic situation I throw at it. To give you an idea of it's versatility, here are a few images from my travels with the X100S thus far.
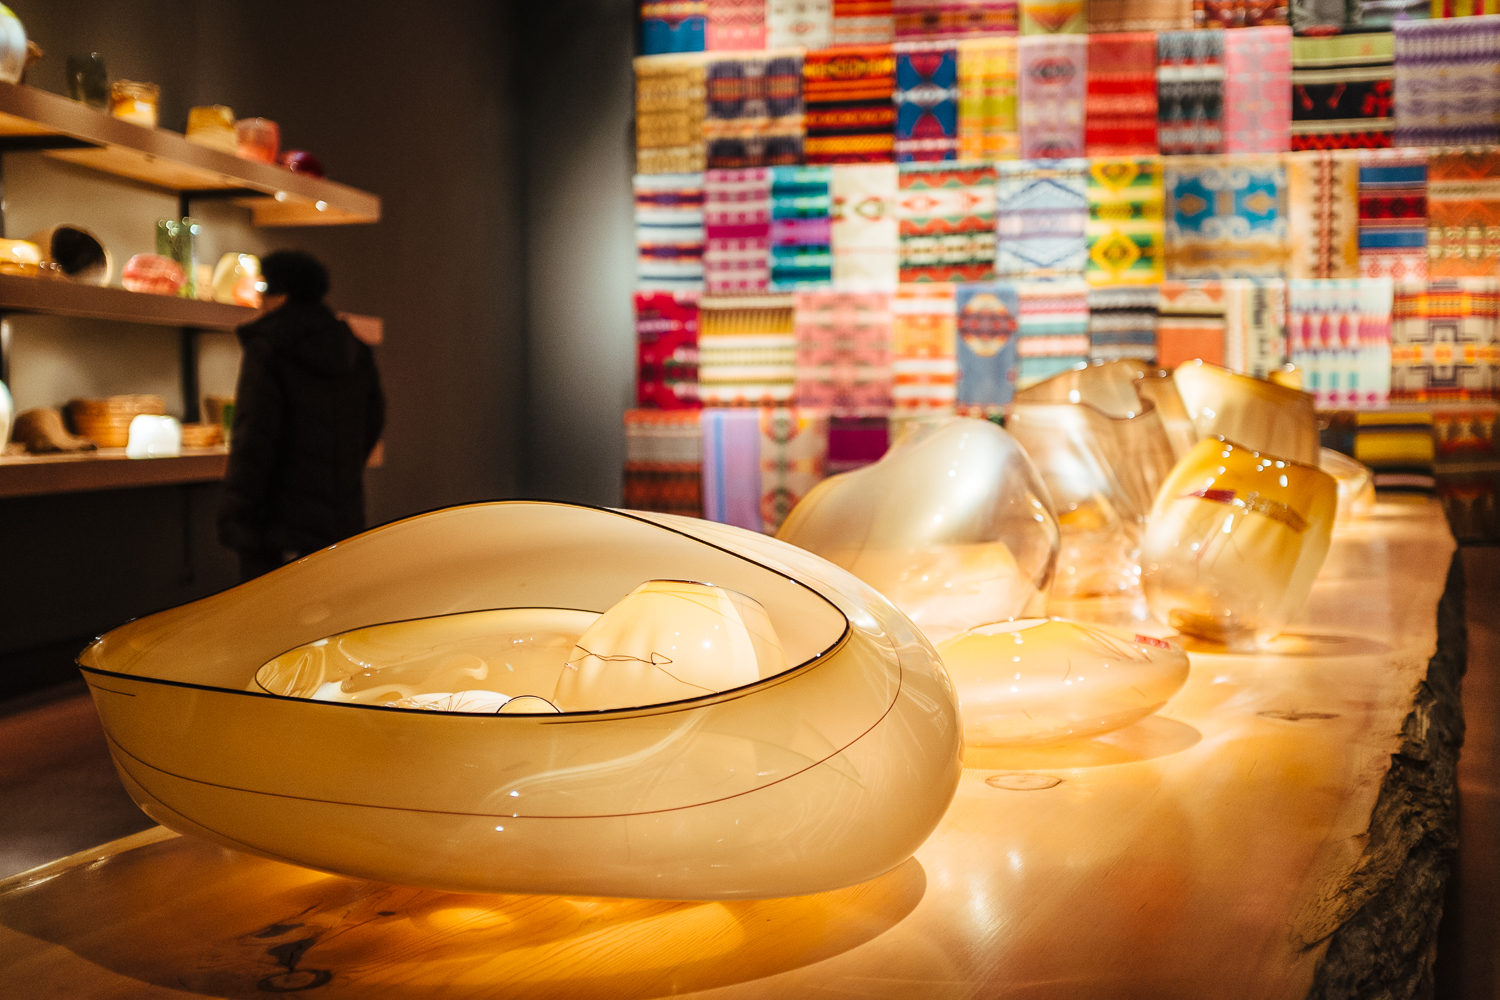
Chihuly Garden and Glass museum - Seattle
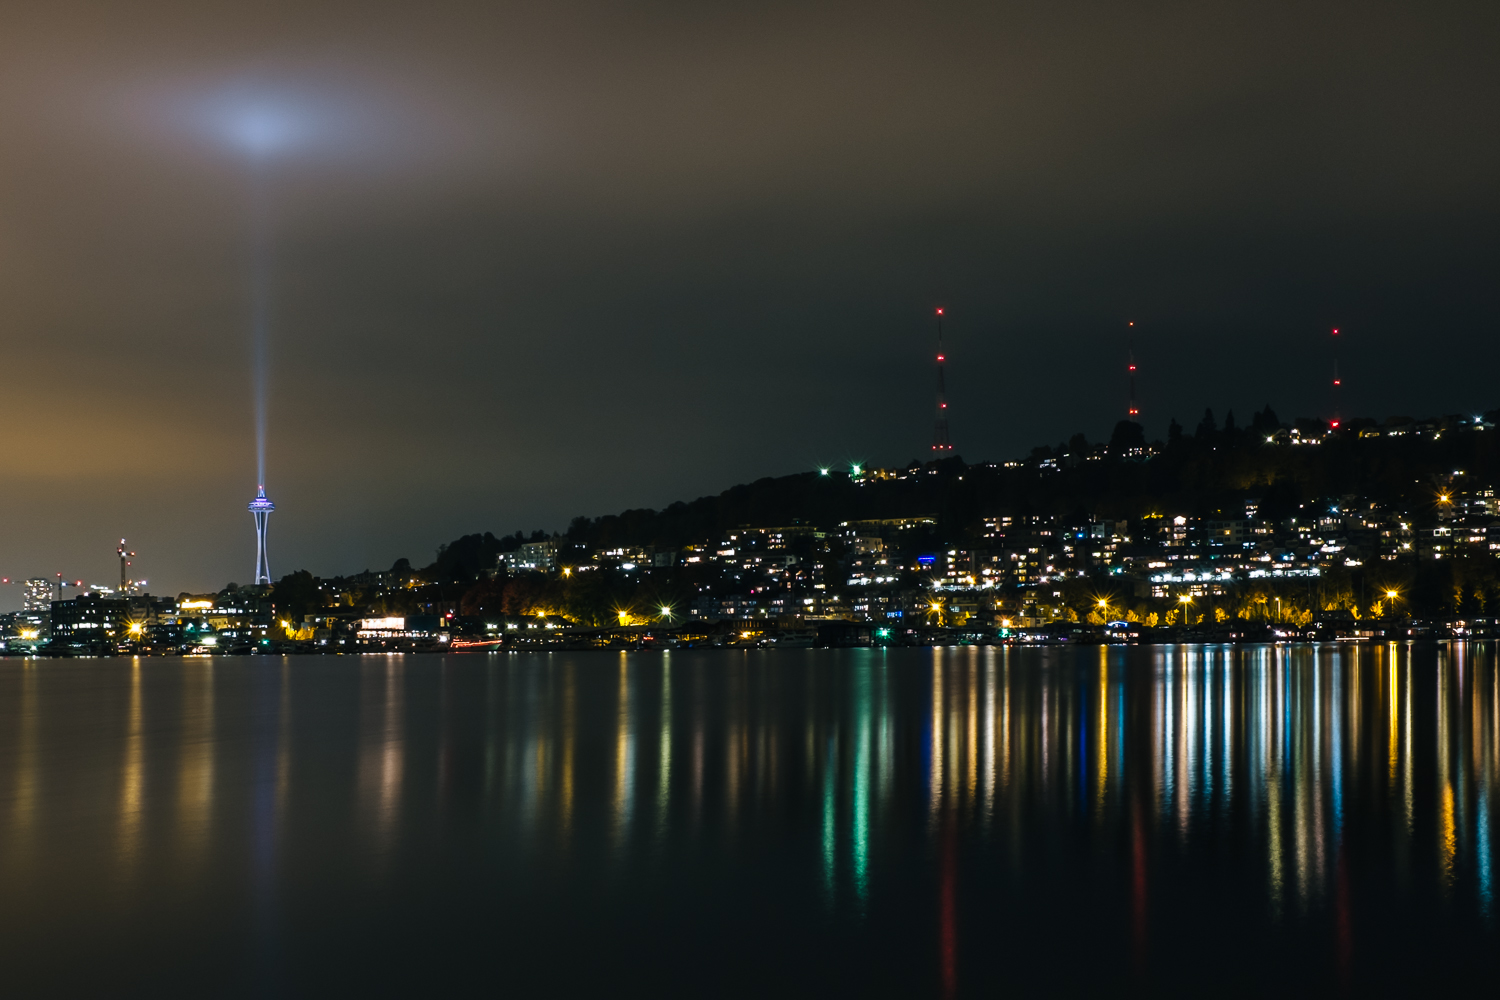
Seattle skyline long exposure - Seattle

Abbesses Metro station - Paris

View from Notre Dame Cathedral - Paris

9/11 Memorial - New York City

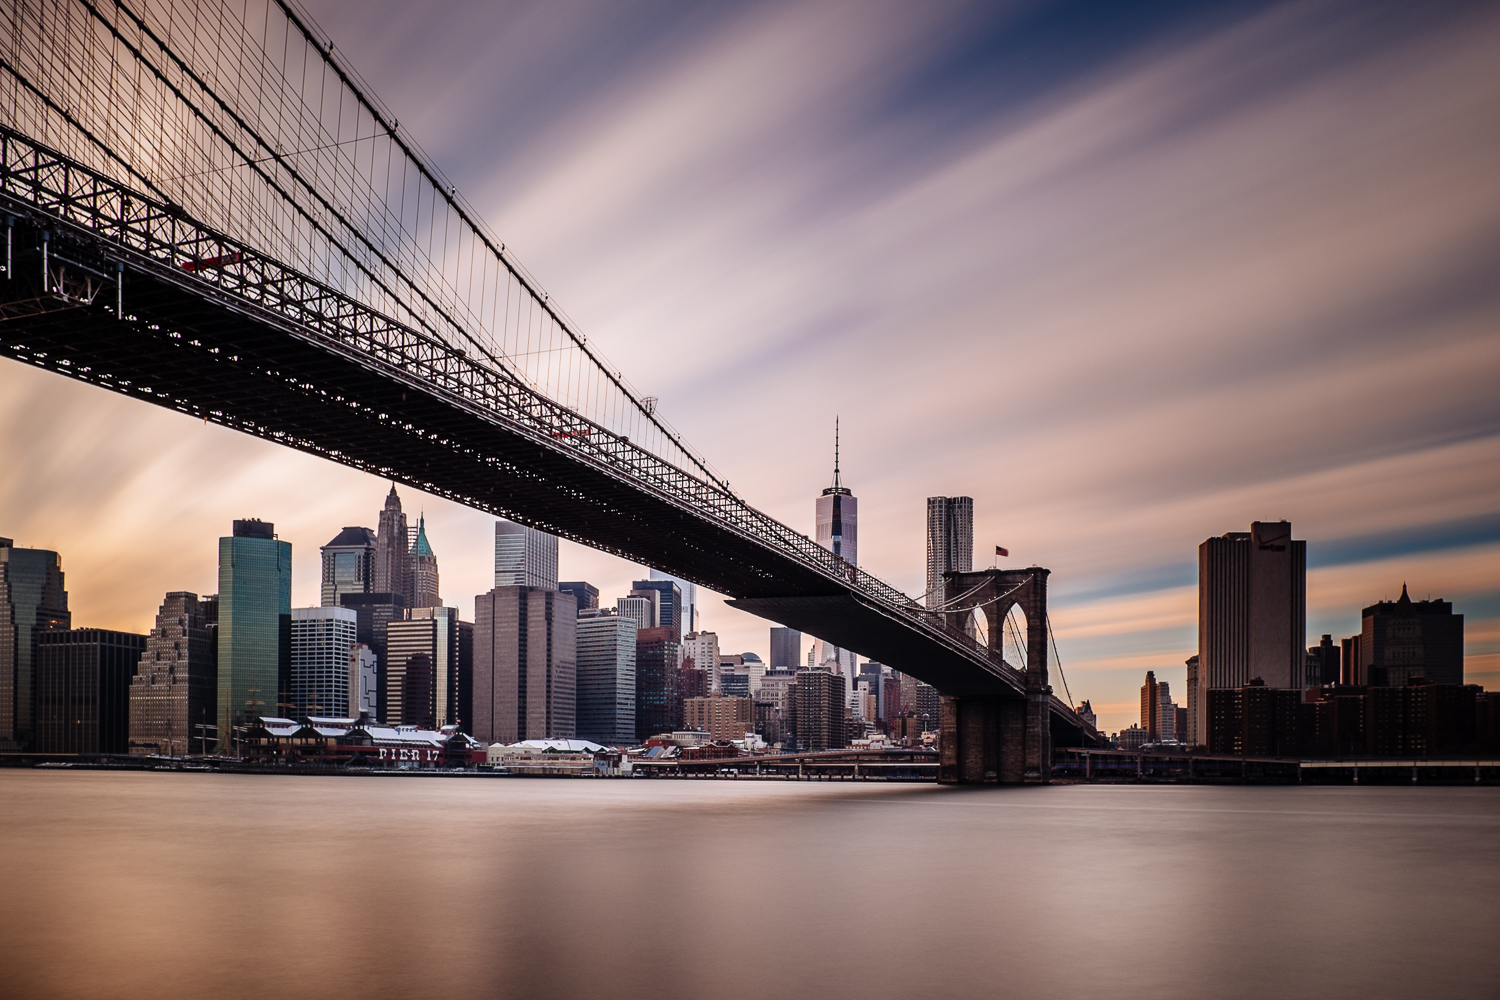
Brooklyn Bridge sunset - New York City